Having spent the last 5 months attending
evening classes with Toni Stalls at Integral-T and working through the Grafis
Text book, which is freely downloadable from the Grafis website in pdf format
here; I am confidently using the construction tools and I am not even half way
through the manual or my lesson plan yet. There are 20 Chapters in the book,
which means that give or take 2 chapters a month and it will take me a year to
begin to know it!
This
month I have been focusing on Curve Constructions and Transformations, which I
have been using in a basic way with the Mirror
at line tool and Turn with turn point
– from point to point in previous
pattern constructions, but it’s more complicated and interesting than that! So
read on and find out how!
In the Curve menu there are 3 options,
Create new curve, Replace curve and Manipulate curve. The curve line is defined
by 2 types of points. Firstly Base Point and secondly the Auxiliary Points
which have the following attributes respectively:
Base Points
Bound to points or lines, which is an
important feature to remember because when grading a garment the same
construction steps are used from size to size and this bound point will remain
constant throughout the sizes. Each
curve line must have a minimum of 2 BP i.e. Start base point and Finish base
point. Base points can move along the line they are bound to by being dragged
freely along that line. Direction is set to the curve line at the BP and a BP
is indicated by a little cross.
Auxiliary Points
Are not bound to the construction, they can
be dragged freely if Adjustment is selected in the Curve construction submenu.
The position is calculated relative to the ‘zero curve’ which sounds dauntingly
like rocket science but the zero curve is displayed as a dashed line after
direction is set on the BP and the AP are adjusted away from their original
position. A top tip is that the fewer the AP on a curved line the smoother the
line, just think of it like a fine gold chain that you are pinning and finding
the desired and expected shape.
Lastly before doing a little exercise,
points must have a minimum distance of 5mm between each point. And only AP
should be deleted!
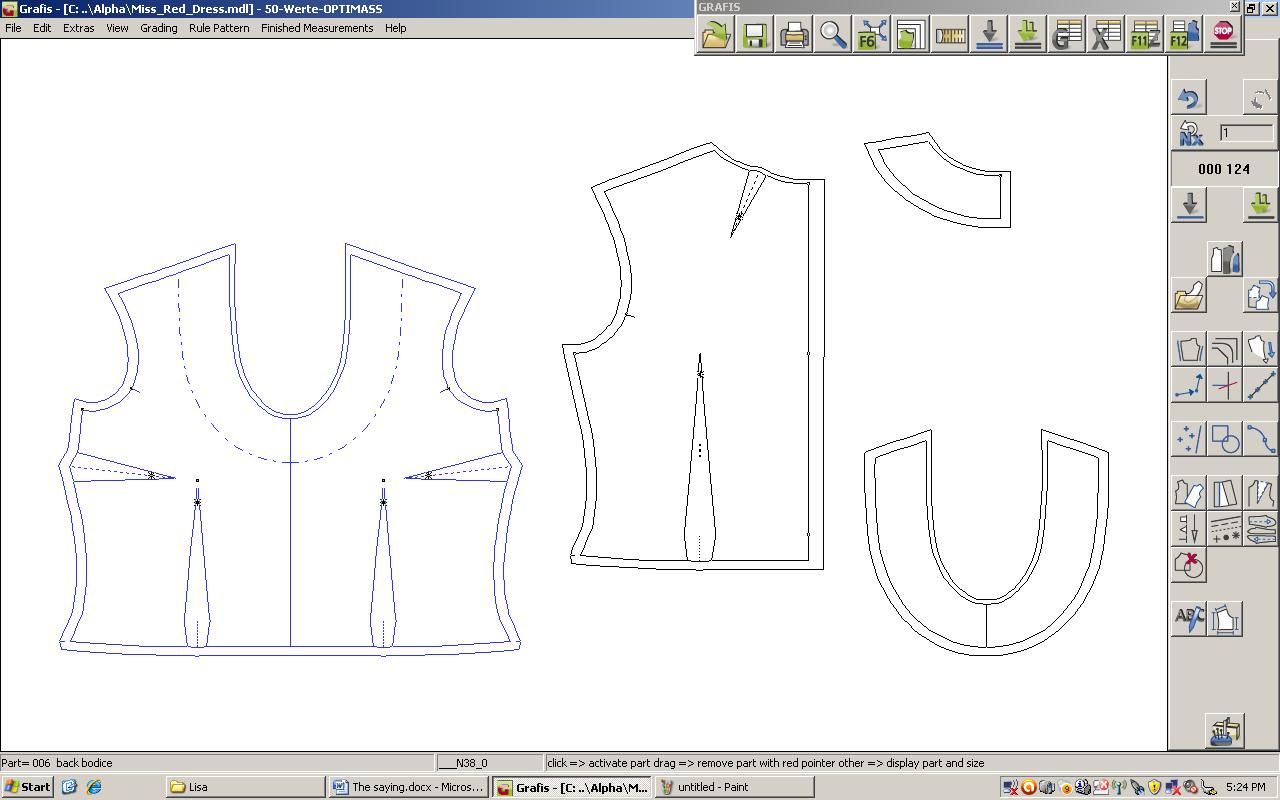
To practice I want to use the curve tool to
make a yoke on the skirt front so, I call Skirt 20 and click the curve
menu. Select top button Create new curve
and click centre front of the skirt, (start BP) then click your side seam,
(finish BP) and this is where your direction arrow will point. Set Direction 90
degrees at CF and at the side seam I drag the angle to the desired position
before right clicking out. The angle can be reset using Delete Direction on the
Curve construction menu if you want to change it. Insert your Auxiliary points
and if your style requires that you bind the AP to a construction for example a
dart apex click Bind Point, this means
that the curve will intercept this point as it’s a construction point and be in
the same position in all sizes. To reset this, unbind point!
 |
| Skirt Yoke - Set Direction on Base Points |
Curves can be adjusted at a later stage,
but I would use great discretion! But if it must be altered double clicking or
<F12> the line will bring you back to the interactive area. Beware that
it must be logical in the construction record and not impact daughter parts.
(I’m not sure what will happen when you hit
test
run all parts, but it might not be a good result and you might get error
messages).
A few more exercises to reinforce this
knowledge were the construction of the shirt yoke on the back of Bodice 10,
using exact measurements down CB and armhole. It also allowed me to experiment
with binding points to the apex of the back shoulder dart.
 |
| Shirt Back with Yoke Bind Point to Dart Apex |
The second example is of a bodice
constructed with a princess line into the armhole and bust point, as well as a
curve in the hip area beginning to look like a corset design line.
 |
| Princess Line and Curve Hem Shape |
Then comes a straight skirt with a curve to
create a back and front yoke, meeting at an angle of 90 degrees at the side
seam, centre front and centre back lines.
 |
| Straight Skirt with Curve Yoke and Hem |
The construction of the yoke with the
straight line from the shoulder was a little trickier than I had first
anticipated, but with a few reset and trying again I managed to achieve the
requirements of the exercise.
 |
| Yoke on Bodice with Straight Line Shoulder then Curve Neckline |
The trousers are shortened and flared; the
trouser leg is given a curvy hem and a curvy front trouser yoke. One of the
last exercises using the curve menu in this way was a pocket construction, and
then to change the pocket interactively into a jeans style pocket, by extending
the curve into the centre front into the fly seam.
 |
| Trouser with Side Seam Flare & Perpendicular Inner Leg Seam |
 |
| Trouser with Curvy Yoke and Hem |
 |
| Trouser Pocket & Adaptation to Jean Style Pocket |
The construction of the collar band is
similar to flat pattern making of drafting a collar using measurements and
joining the points. A series of measurements are given as per a block draft i.e.
½ neckline measurement, stand measurement, fall measure, roll line, break point
etc much in the same manner connecting the points and setting the direction
gives shape to the collar.
 |
| Collar Band |